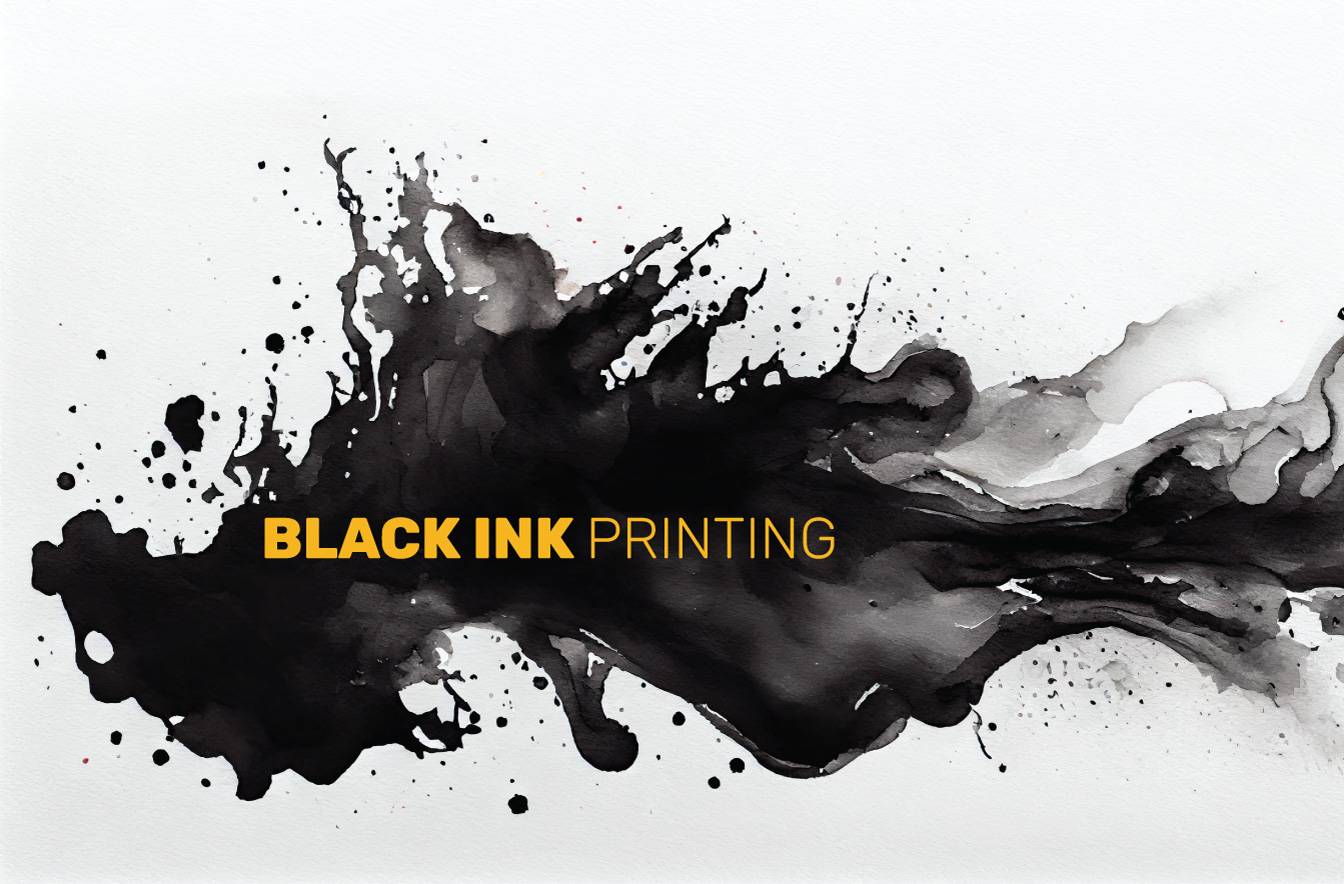
Black ink printing has been a staple of the printing industry for centuries. Black ink is the most commonly used colour for printing, and it is used in various applications such as newspapers, books, magazines, and even art prints. In this article, we will discuss black ink for printing, its characteristics, and its uses.
100% Black ink is a type of ink that is composed solely of black pigment. It is the darkest and most opaque form of black ink, and it produces solid black prints without any variation in tone, except when you opacify your artwork obviously. Black ink is commonly used in printing applications where high contrast and sharpness are required, such as text and line art.
One of the primary benefits of using black ink 100% for printing is its ability to produce crisp and clean prints. Since it contains only black pigment, it can create solid, uniform black tones that are free from any variations or inconsistencies. This makes it an ideal choice for printing text, as it ensures that the text is legible and easy to read. If you create a black colour using CMYK values, your alignment during litho printing may cause fuzzy prints.
In conclusion, 100% black ink is an essential component of printing. Its ability to produce solid, uniform tones makes it an ideal choice for printing text, line art, and lower-cost calendars. When used correctly, black ink can create high-quality prints that are sharp, clean, and easy to read. So, if you’re looking to produce prints with high contrast and sharpness, 100% value black ink is the way to go.
SETTING UP ARTWORK FOR 100% BLACK:
Setting up artwork with 100% black ink in Adobe Illustrator is a straightforward process. Here are the steps you can follow:
- Open Adobe Illustrator and create a new document. Choose the size and orientation that best suits your project.
- Select the “File” menu and click “New” to create a new document. In the “New Document” dialogue box, select “Print” as the document type and set the colour mode to “CMYK”. This ensures that your artwork is set up for printing with black ink.
- Create your artwork using only black. To ensure that your artwork uses only black, select the “Swatches” panel and choose “Black” from the default swatches. This will ensure that all elements in your artwork are set to 100% black.
- Ensure that all text is converted to outlines. If you have text in your artwork, it’s important to convert it to outlines to prevent any font issues when sending your artwork to a printer. To convert text to outlines, select the text, right-click and choose “Create Outlines” from the context menu.
- Save your file. When you’re ready to save your artwork, choose “File” and “Save As” from the menu. Make sure to choose a file format that’s suitable for your needs, such as High-Quality PDF, and make sure to include any necessary bleed or trim marks.
By following these steps, you’ll have set up your artwork for printing with black ink. It’s important to keep in mind that black ink may not always appear as a solid black when printed, depending on the printing process and the paper stock used. However, by setting up your artwork for 100% black ink, you’ll ensure that your artwork is optimized for printing and will look its best.