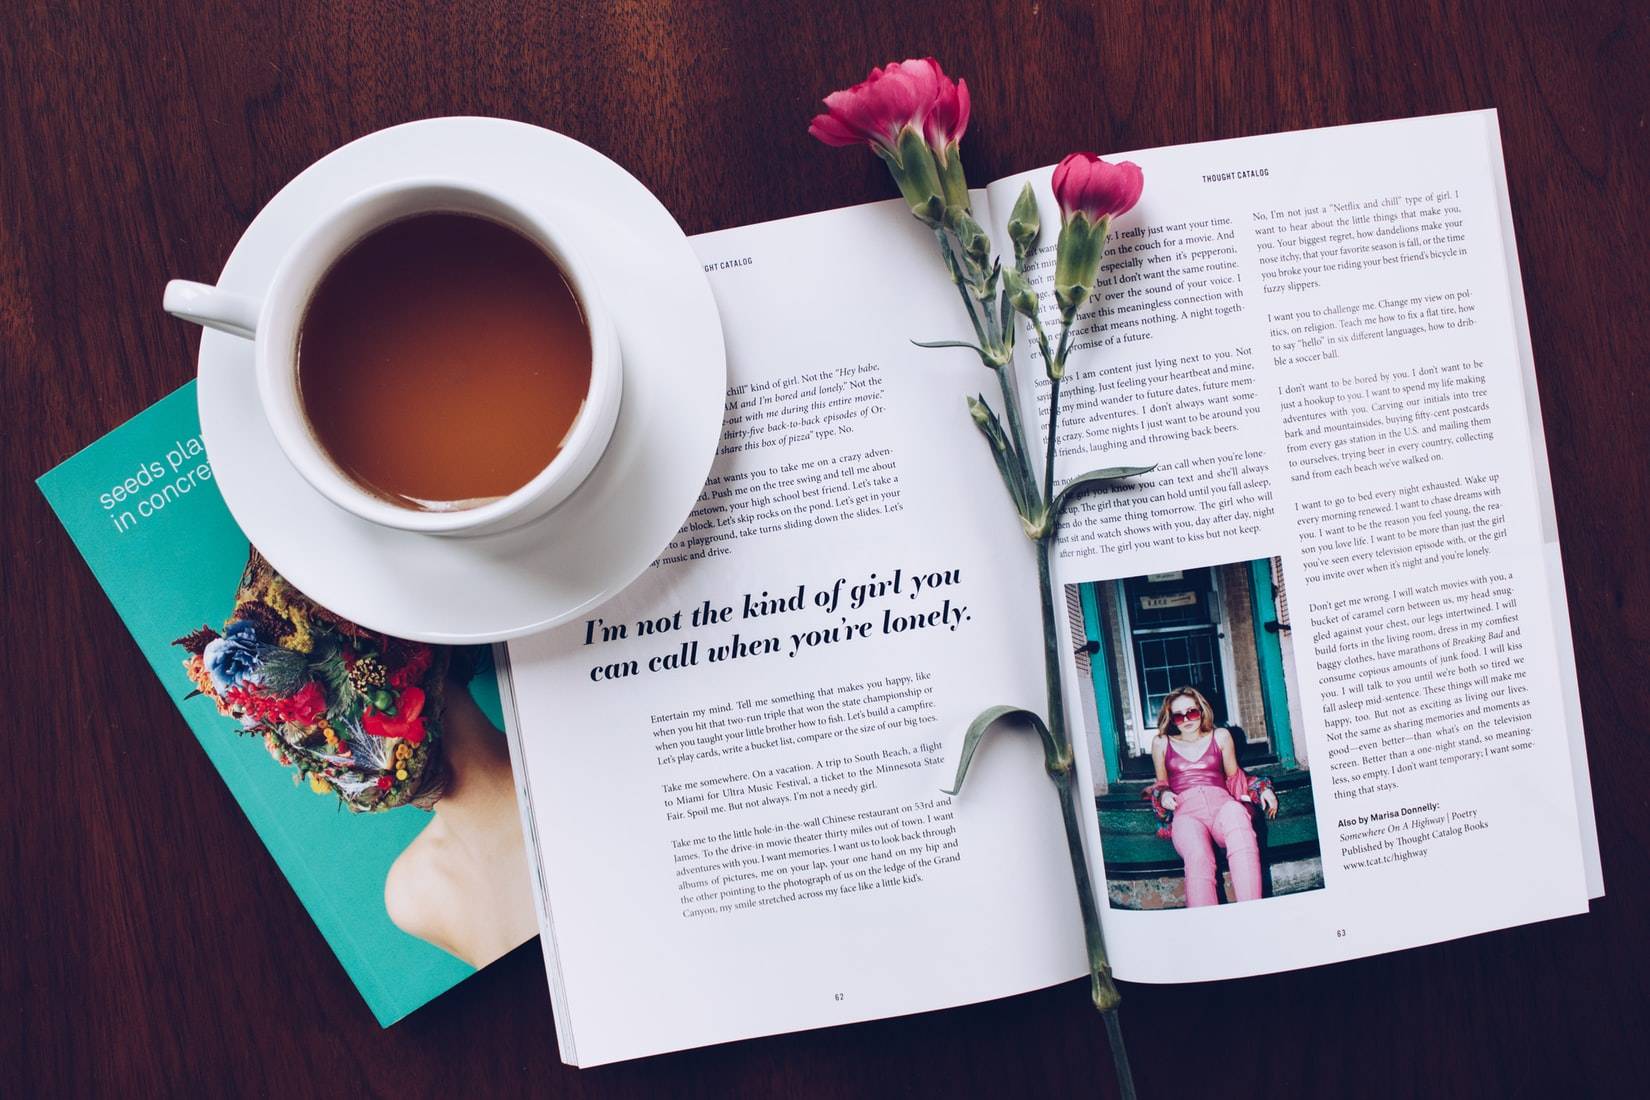
A5 booklet printing is a versatile and effective way to showcase your content in a compact and easily portable format. Whether you’re designing a brochure, manual, or magazine, understanding the basics of A5 booklet printing is essential to create a professional and impactful end product. In this guide, we’ll cover everything you need to know about A5 booklet printing, from the importance of choosing the right paper size to selecting the right paper and ink for your booklet, as well as the printing process and binding options available.
Brochures and booklets can be powerful marketing tools. But getting them designed and ready for print can be a huge headache. Not to mention finding affordable printing services near you to actually get them done – and in time! I know the hassle. As a designer myself, I’ve dealt with the pain of getting your A5 printed booklets sorted out many times.
Understanding the basics of A5 booklet printing
What exactly is A5 booklet printing? A5 refers to the paper size, which is half the size of A4. A5 booklets measure 148mm x 210mm, making them compact and easy to carry around. This size is ideal for brochures, newsletters, event programs, and more, as it provides enough space to showcase your content without being overwhelming.
Choosing the right paper size is crucial to ensure that your booklet is well-received and visually appealing. A5 booklets strike the perfect balance between readability and sleekness, making them suitable for a wide range of purposes.
Importance of choosing the right paper size
One of the key considerations when designing and printing a booklet is the paper size. A5 booklets offer several advantages over larger sizes. Firstly, the compact size makes them easy to carry and distribute, which is especially important if you’re planning to hand them out at events or if your audience will be reading them on the go.
Additionally, A5 booklets often cost less to print than larger sizes, making them a budget-friendly option. This allows you to produce more copies without breaking the bank, giving you the opportunity to reach a wider audience.
When it comes to A5 booklet printing, another aspect to consider is the type of paper to use. The paper choice can greatly impact the overall look and feel of your booklet. Opting for a high-quality, glossy paper can enhance the colours and images in your booklet, giving it a professional finish.
Moreover, A5 booklets are versatile in terms of design. Despite their smaller size, they offer enough space for creative layouts and engaging content. You can play around with different fonts, colours, and images to make your booklet visually appealing and captivating for your target audience.
Steps to design your A5 booklet
Designing an A5 booklet involves a series of steps that ensure a visually appealing and well-structured end product. Let’s take a look at some key steps to help you create an effective A5 booklet design.
Before delving into the specifics of designing an A5 booklet, it’s essential to understand the significance of this particular size. A5 is a popular choice for booklets due to its portable nature and balanced aspect ratio. It provides enough space to showcase content effectively while remaining compact and easy to handle. This size is commonly used for brochures, event programmes, and promotional materials.
Choosing the right software for design
The first step in designing your A5 booklet is selecting the right software. Depending on your familiarity and expertise, you can choose from a range of design tools such as Adobe InDesign, Canva, or Microsoft Publisher. These software options provide various templates and design features to help you create a professional-looking booklet.
Tips for an effective layout
When it comes to the layout of your A5 booklet, it’s important to create a visually appealing and easy-to-read design. Break up your content into sections with clear headings and subheadings to guide readers through the booklet. Use a consistent color scheme, font, and imagery throughout to maintain a cohesive and professional look.
Furthermore, consider incorporating white space strategically to prevent the design from feeling cluttered. White space, also known as negative space, helps in directing the reader’s focus and improving overall readability. By balancing content with adequate white space, you can create a visually engaging layout that encourages exploration.
Consider the flow of information and ensure that your content is organized in a logical order. Use images, infographics, or illustrations to enhance the visual appeal and engage your readers. Remember, a balanced and visually pleasing layout can significantly enhance the overall effectiveness of your booklet.
Selecting the right paper and ink for your A5 booklet
Once you’ve finalized your design, it’s time to select the right paper and ink for your A5 booklet. The choice of paper and ink can greatly impact the look and feel of your booklet, so it’s important to take some factors into consideration.
Different types of printing paper
There are various types of paper available for booklet printing, each with its own qualities and characteristics. Common options include gloss, matte, and uncoated papers. Glossy paper provides a shiny and vibrant finish, while matte paper offers a more subdued and elegant look. Uncoated paper has a natural and textured feel.
Consider the type of content you have and the impression you want to create. For example, if you have high-quality images and want to make them stand out, glossy paper may be ideal. On the other hand, if you have predominantly text-based content, matte or uncoated paper can enhance readability.
But did you know that there are even more options to explore when it comes to printing paper? For instance, you can opt for specialty papers such as recycled paper, which not only adds an eco-friendly touch to your booklet but also gives it a unique texture. Another option is pearlescent paper, which has a subtle shimmer that adds a touch of elegance to your design. The possibilities are endless, and by choosing the right paper, you can truly make your A5 booklet stand out from the crowd.
Choosing the right ink for your booklet
Choosing the right ink is also crucial in achieving the desired print quality for your A5 booklet. In most cases, digital printing is the preferred option for A5 booklets as it provides excellent color accuracy and sharpness. However, for specific requirements or larger print runs, offset printing may be a more suitable choice.
When it comes to digital printing, you have the option of using either dye-based or pigment-based inks. Dye-based inks are known for their vibrant colors and are perfect for creating eye-catching designs. On the other hand, pigment-based inks offer superior durability and are more resistant to fading, making them a great choice for booklets that need to withstand the test of time.
Now, let’s delve into the world of offset printing. This traditional printing method involves transferring ink from a metal plate to a rubber blanket and then onto the paper. It offers a wider range of ink options, including spot colors and metallic inks, allowing you to add a touch of luxury and sophistication to your booklet. Additionally, offset printing is ideal for larger print runs, as it offers cost-effective solutions without compromising on quality.
Discuss your printing requirements with a professional printer to ensure that the ink option you choose aligns with your design and budget. They can provide valuable insights and recommendations based on their expertise, helping you make an informed decision that will bring your A5 booklet to life.
The printing process of A5 booklets
Once you’ve finalized the design, paper, and ink choices for your A5 booklet, it’s time to prepare your design for print. This involves converting your design into a print-ready format and ensuring that all elements are properly aligned and sized. It’s advisable to consult with a professional printer or print service provider to ensure a seamless printing process.
Understanding the printing process is also essential. Digital printing, the most common method for A5 booklet printing, involves transferring the digital design onto the chosen paper through a high-quality printer. This process ensures precise and consistent results without the need for costly setup and printing plates.
When it comes to selecting the paper for your A5 booklet, there are various options to consider. The weight and finish of the paper can significantly impact the final look and feel of your booklet. For a professional and sleek finish, you may opt for a glossy paper that enhances the vibrancy of colours and images. On the other hand, if you prefer a more subtle and sophisticated look, a matte finish paper could be the perfect choice.
Furthermore, the ink choices can also play a crucial role in the overall quality of your A5 booklet. Opting for high-quality, fade-resistant inks can ensure that your booklet maintains its vibrancy and clarity over time, making it a durable and long-lasting marketing tool for your business or project.
Binding options for your A5 booklet
Finally, let’s explore the different binding options available for your A5 booklet. The binding method you choose will depend on the purpose of your booklet, the number of pages, and the desired durability.
Overview of different binding techniques
Some popular binding options for A5 booklets include saddle stitch, spiral binding, and perfect binding. Saddle stitch involves folding the pages in half and stapling them together along the spine. This method is commonly used for booklets with a smaller number of pages, as it provides a simple and cost-effective solution. Spiral binding, also known as coil binding, uses a plastic or metal coil that threads through small holes punched along the edge of the pages. This method offers durability and allows the booklet to lie flat when opened, making it a popular choice for manuals and reference guides. Perfect binding involves gluing the pages together, creating a flat spine. This method is ideal for thicker booklets, such as brochures or novels, as it provides a professional and polished finish.
Choosing the right binding for your booklet
When selecting a binding method for your A5 booklet, it is important to consider various factors. Firstly, think about the number of pages your booklet will have. Saddle stitch is suitable for booklets with a small number of pages, as it allows for easy flipping and browsing. On the other hand, perfect binding is ideal for thicker booklets, as it provides a sturdy and secure binding. Secondly, consider how often the booklet will be opened and closed. If the booklet needs to be accessed frequently or needs to lie flat, spiral binding is a durable solution. Lastly, think about the desired aesthetic of your booklet. Perfect binding offers a sleek and professional look, while saddle stitch gives a more rustic and handmade feel.
By understanding the available binding options and carefully considering your booklet’s purpose, you can select the most appropriate option that enhances the overall presentation and usability of your A5 booklet.
Now, let’s delve into the fascinating world of bookbinding techniques. Did you know that saddle stitching has been used for centuries to bind small booklets? This technique originated in medieval times when manuscripts were stitched together by hand. The process involved folding the pages in half and sewing them together with a needle and thread. Over time, this method evolved, and staples replaced the traditional sewing. Despite its simplicity, saddle stitching remains a popular choice due to its efficiency and cost-effectiveness.
On the other hand, perfect binding has a more modern history. This method gained popularity in the 19th century with the rise of mass printing. It revolutionized the bookbinding industry by allowing large quantities of books to be produced quickly and efficiently. Perfect binding involves applying a strong adhesive to the spine of the pages, creating a flat and seamless finish. This technique is commonly used for paperback books and magazines, providing a professional appearance that is both aesthetically pleasing and durable.
As for spiral binding, it has its roots in the early 20th century. The invention of the spiral binding machine in the 1930s revolutionized the way documents were bound. This method involves punching small holes along the edge of the pages and threading a plastic or metal coil through them. The coil allows the pages to turn smoothly and enables the booklet to lie flat when opened. Spiral binding is often used for notebooks, cookbooks, and other reference materials that require frequent use and easy page-turning.
Looking to create professional-looking A5 booklets? Our comprehensive guide to A5 booklet printing covers everything from design tips to paper options and binding methods. So here are 7 pro tips to getting your brochure or booklet done perfectly and in time. And the best part? Your readers will love it!
7 Pro Tips For Booklet Design
1. Make sure you know which printing specs are best for you.
Unlike designing for screens, you need to know exactly what your budget allows in terms of printing. This can impact quantity, size and paper stock.
Start by setting specifications for the brochure so that as you design on the screen (preferably in Adobe InDesign – more on that here), you are creating exactly what you need from the start.
Think about paper size, folds and bleed. It’s vital to know the capability of the printer before you get too deep into the design process. For thick, more booklet-style brochures, you might also want to consider the assembly of pages.
Luckily, Printulu offers you an easy way to find out what works for you. Our online configurator gives you an instant quotation with your specs. If you have any questions, our friendly customer care staff would love to assist. Just drop us a quick mail at [email protected].
Related Products
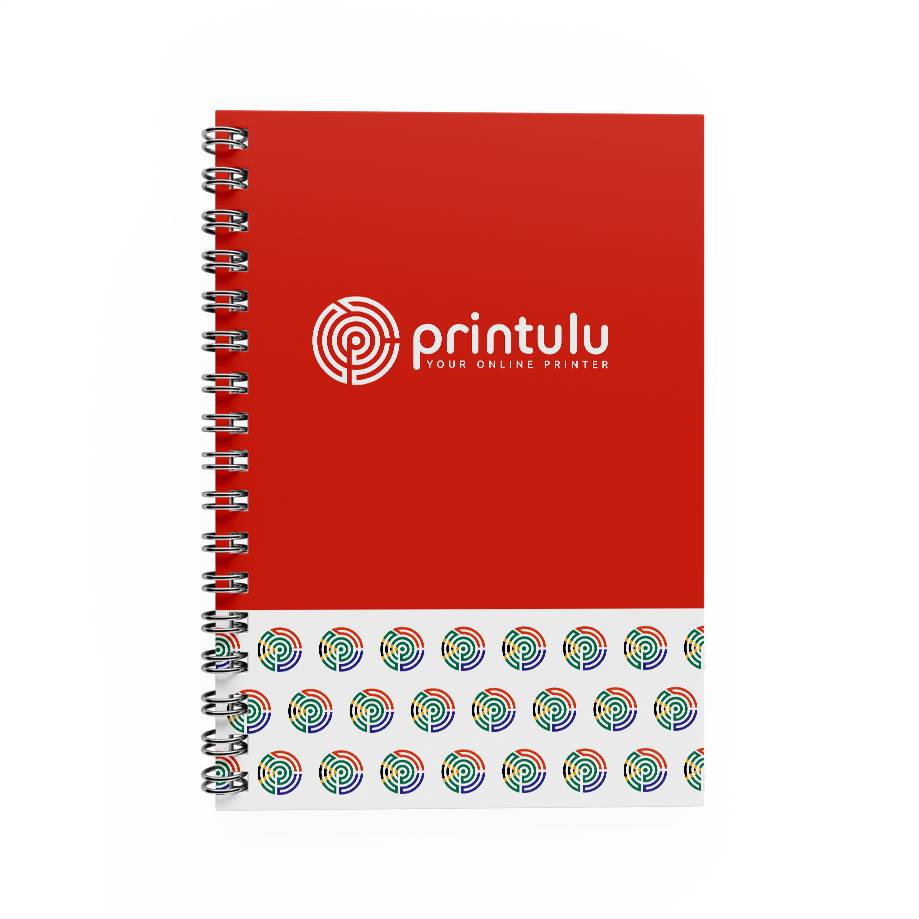
- Brochures and Booklets
- PUR Bind Booklets (from 250)
- PUR Bind Booklets (up to 250)
- Wiro Booklets (up to 250)
- Wiro Booklets (from 250)
- Folded Leaflets and Pamphlets
2. Keep your audience in mind.
The shape and distribution of a brochure design should reflect the audience who will receive it. Even designs that look like traditional paper brochures can be transmitted digitally with interactive features in a PDF.
If you are handing out a brochure to people on the go, consider a size and format that’s easy to put in a pocket or bag.
Finally, for stakeholders or key partners, thicker or more robust brochures with multiple pages or in a larger size might be appropriate.
One final thing to think about in terms of audience: Consider the age of recipients. Are they younger or older? This can impact the type, size and overall feel of the design.
3. Use high-quality everything!
You can’t get away with low-quality elements when producing something for print. A low-res photo or illustration will become pretty obvious very quickly.
While exact specifications will vary somewhat by project and print canvas and method, generally you want images and design elements to be at least 300 dpi on screen in the size they will be used. A pixelated Google image won’t cut it here. But there is a way of keep the file size small. Keep reading to find out how.
4. CTAs – why am I reading this again?
CTAs (a call to action) is, oddly enough, one of the elements most commonly left off in printed publishing. But ask yourself – what is the goal of the brochure? Why did you get your A5 booklet printing done in the first place? Yes, informing your readers is always a good thing. But when they’re done reading your brochure, what do you want them to do?
Make that action clear to them. Whether it is to go to a certain place for an event, tear off a card and mail it in or call a phone number, establish what users are supposed to do and encourage that behaviour throughout the design.
A simple rule of thumb is the more pages or panels the design has, the more times you will need to repeat the CTA.
5. Stick to one visual theme.
So many pages! So many options! It can be overwhelming.
At the end of the day, it’s better to stick to one overarching theme and let that dictate how you design each page. Decide on a visual hierarchy, and how all images need to be treated (black and white, sepia, full colour?).
At the end of the day, your brand should be the voice of the brochure. Stick to your set brand guide (more about that here) and keep it simple. A brochure is a lot of information, and your design should help your reader to take it all in.
6. Brochure Design for printing.
In addition to these considerations, there is a technical element that you need to remember. But we’ve made it easy for you by compiling it all into one simple checklist. It’s no secret that there are certain basic things you need to do when saving your artwork. It’s crucial to save this checklist and always have it handy. Check it out here: How to Make A Print Ready Artwork: Your Easy Checklist (Complete List)
7. Pro tip – my file size is too large? Help!
I get this question at least once a week. Printulu does not print files that are larger than 500MB for logistical reasons. That’s pretty huge in any case, and it is unnecessary for your file to be any bigger. But how do you get it smaller? Especially if there are so many images embedded in the file.
If your file size is getting too large, re-export your images from Photoshop at 70% quality (maintain 300 dpi). Always check that the images aren’t pixelating when you do this. Most of the time, 70% quality maintains visual integrity. Re-input them into the final file in Illustrator or Indesign. Flatten the pages (export them as Jpegs) before compiling them into one PDF file.
Another handy tip is to remove drop shadows and clipping masks where possible. If all else fails, use Acrobat Distiller to shrink the file size even more (we always recommend using the PDF/X-1a:2001 codec). Always zoom in to the artwork to check that you are happy with the quality and that it is not pixelating before sending it through to print.
Lastly, if all of this sounds Greek to you, we can distil the file for you. However, we will always ask you to check it first before putting it through to print, and if we have distilled it, we will not make any design changes to the file for you thereafter. This is just to avoid heartache and tears for both of us. But if you want to avoid all of this hassle, simply add design services to your order.
So, whether you prefer the traditional charm of saddle stitching, the sleekness of perfect binding, or the practicality of spiral binding, there is a binding method that will perfectly suit your A5 booklet.
Sources:
Related Articles:
- How To: Set Up Booklets For Print (Avoid Wasting Money!)
- Graphic Design Software Basics: Create Perfect Prints 100% Of The Time
- Your Full Guide to Printulu in 2019 (Everything you Need to Know About Our Online Shopping System)
- What does collate mean in printing?